
Materials
In our workshops, we mainly use chamotte clay and sometimes porcelain. Chamotte is ideal for first-time users — it’s plastic and retains moisture well, making it suitable for various types of pieces. Porcelain, on the other hand, is a more challenging material to work with physically. It’s quite fragile and loses moisture faster, but the finished pieces look very elegant.
For coloring our ceramics, we use glazes and engobes from brands like Botz, Mayco, Spectrum, and Amaco.
Techniques
In our workshops, we work with various techniques. The most popular ones are hand building from a clay lump, texturing clay slabs using plants and fabrics, coil building, and carving. These techniques can be used separately or combined.
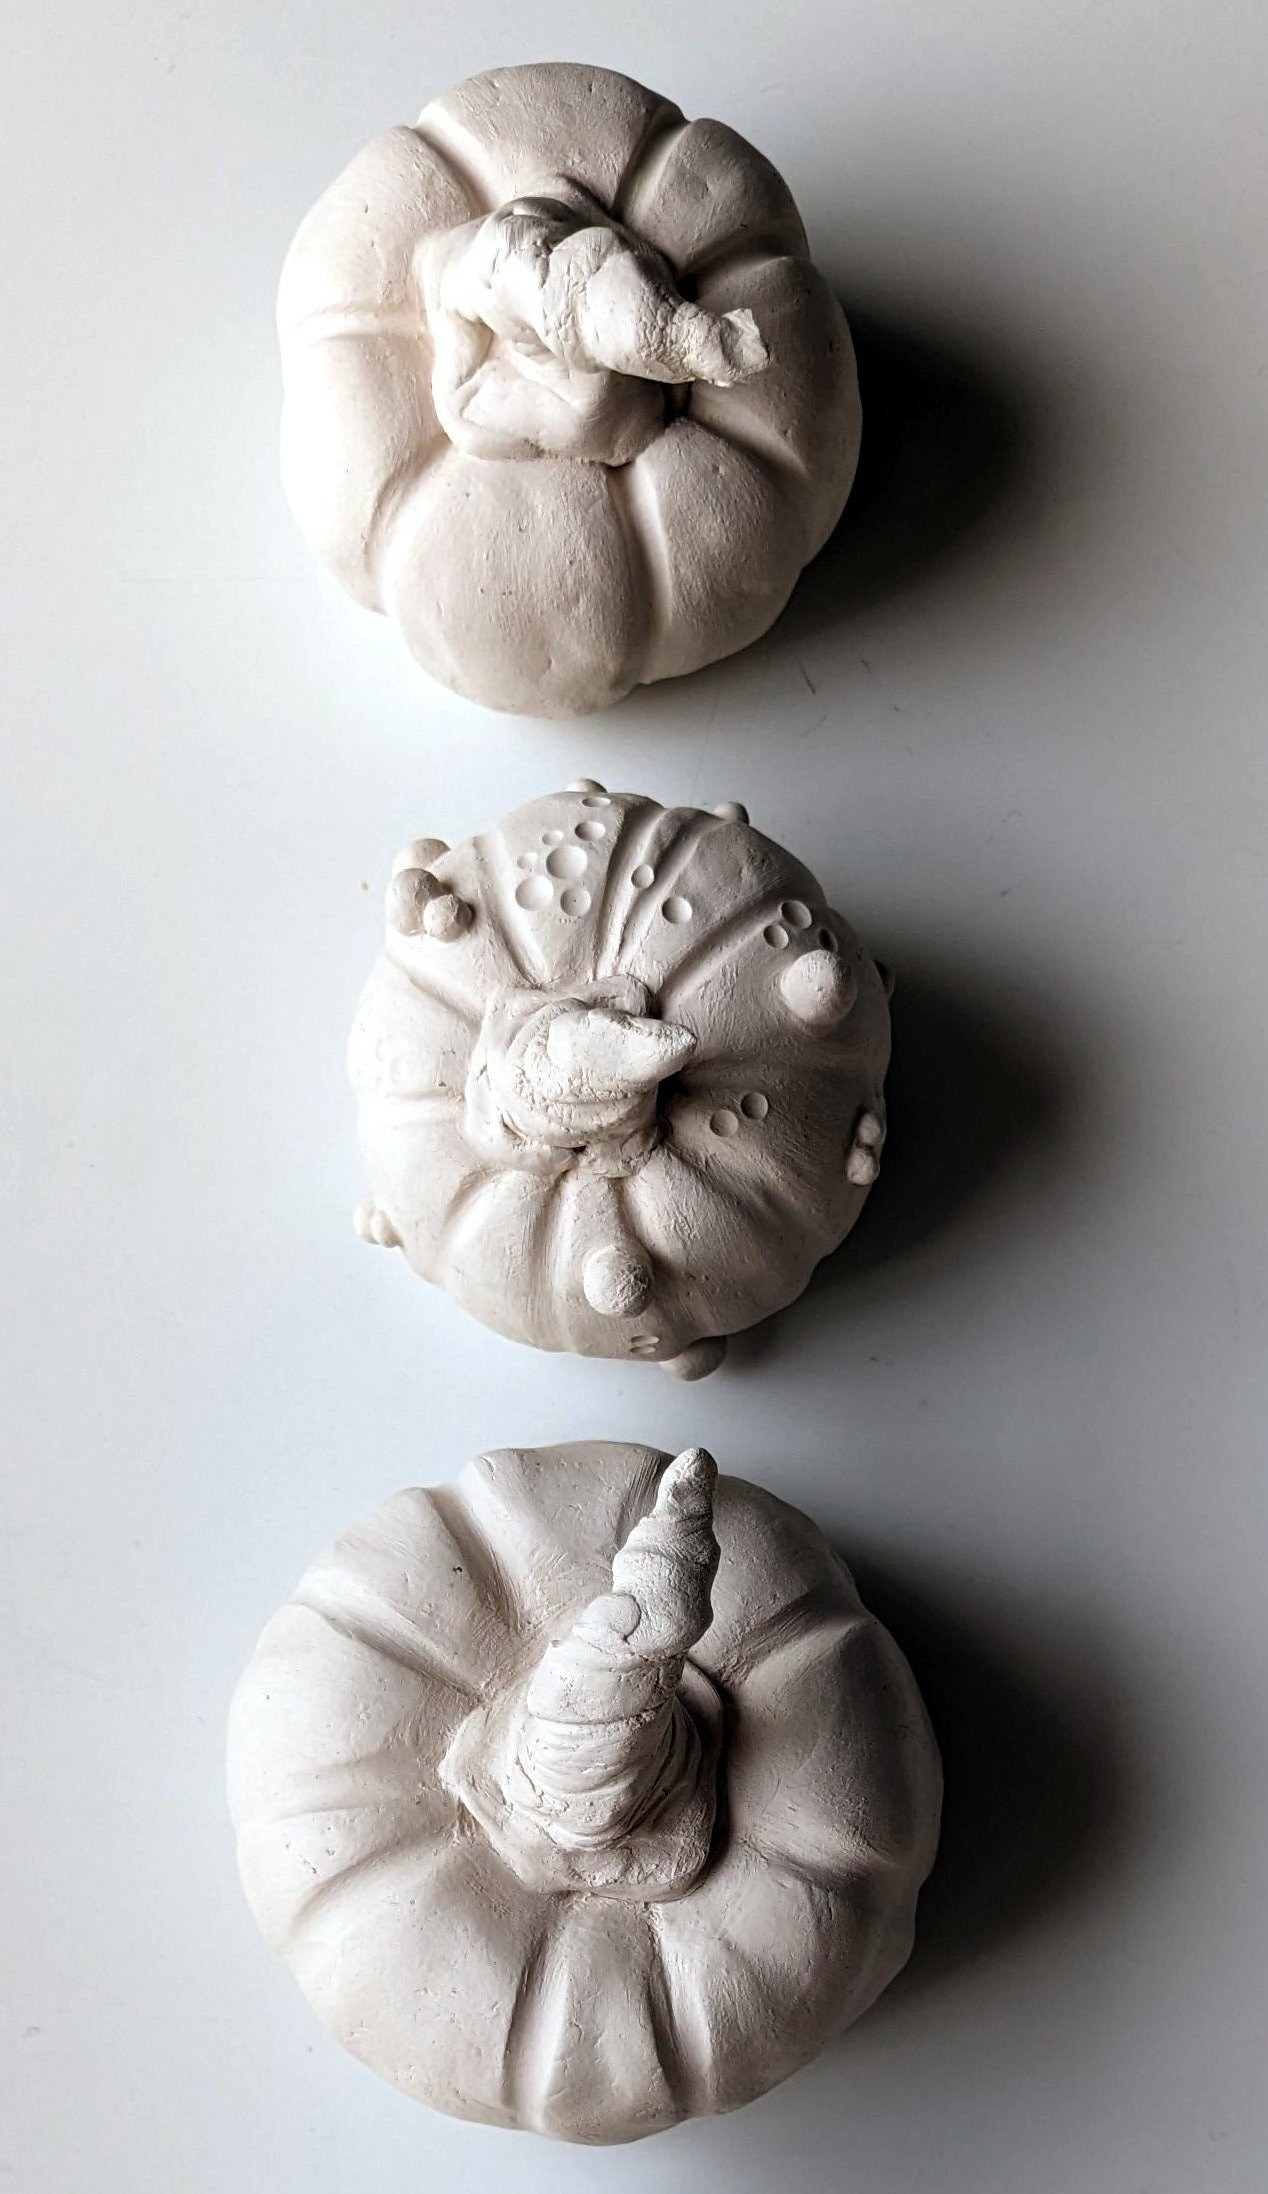
Hand building from a clay lump
We work with a solid lump of clay, gradually shaping the piece by hand — squeezing, pulling, smoothing. This is the most intuitive and ancient method of hand building. It requires no tools — just hands, sometimes a spatula or a stick for detailing. Suitable for small sculptures, abstract figures, animals, mushrooms, characters, and interior decor.
Texturing or imprinting
This technique involves pressing textured objects into soft clay — by pressing, rolling, or stamping. This creates textured relief patterns or designs on the surface. It’s great for making plates, tiles, soap dishes, panels, and much more. Ideal for beginners because it easily produces striking results.
Coil building
We use long “snakes” of clay — coils — and build up forms layer by layer. Each coil is joined to the previous one, resulting in a hollow, volumetric shape: cups, vases, pots, sculptures. Perfect for creating unique tableware such as bowls, vases, and pitchers. It also works well for sculptural and asymmetrical forms, as well as interior objects like lamps, pots, and lighting fixtures.
Clay carving
This involves removing the top layer or carving patterns into leather-hard clay. The surface can be plain clay or covered with engobe. The result is relief, linear, or graphic patterns, ornaments, and illustrations.
How long does it take to create one piece?
It depends on the technique, size of the piece, whether glazing is involved, and each person’s individual approach.
On average, a simple item takes about two sessions to complete (shaping and glazing).
Here’s the general timeline:
– Shaping: 1 day (for simpler forms)
– Drying: approx. 3 days
– Bisque firing: 3 days
– Glazing: 1 day
– Final (high-temperature) firing: 3–4 days
In total, the full process takes around 9–12 days.
What should I bring to the workshop?
The time required depends on the technique, the size of the piece, whether glazing is involved, and each person’s individual approach. On average, a simple piece takes about 2 sessions to complete (forming and glazing).
The typical process is as follows:
- Forming — 1 day (for a simple piece)
- Drying — approximately 3 days
- Biscuit firing — 3 days
- Glazing — 1 day
- High-temperature firing — 3 to 4 days
In total, the entire process takes roughly 9 to 12 days.
Where is the studio located?
The workshop is located in Espoo, Saarniraiviointie 6
Payment methods
All types of subscriptions are paid via electronic payment based on an invoice, which I will prepare and send to you before the start of the classes.
Single sessions and special offers can also be paid by invoice (by bank transfer or in cash).
Receipts for all paid services are provided upon request.